
A Bad Night is a change in priorities. Secure exterior approaches without blocking interior movement, use cover to plan the next move, and restore control before resuming the shift objective.
Published by ShiftAtMidnight.co. Last reviewed . Review the editorial methodology and source register →
QUICK ANSWER
What to do
When a shift turns dangerous, stop trying to finish normal store work. Secure the most exposed exterior approaches, place traps where they do not block your own movement, keep an escape route, and use hiding places as temporary cover while planning the next move.
- You get
- A practical priority order for approaches, movement routes, temporary cover, and recovery.
- Scope
- General full-release Hunt preparation and recovery. Enemy-specific health, timers, exploits, and guaranteed counters are intentionally excluded.
Recognize the change in priorities
A missed doppelganger can return later and force a survival phase. The first mistake in a Bad Night is continuing to stock, clean, or optimize money after the situation has changed.
Drop nonessential work. Take a fast inventory of entrances, defensive tools, cover, and the route you can still use.
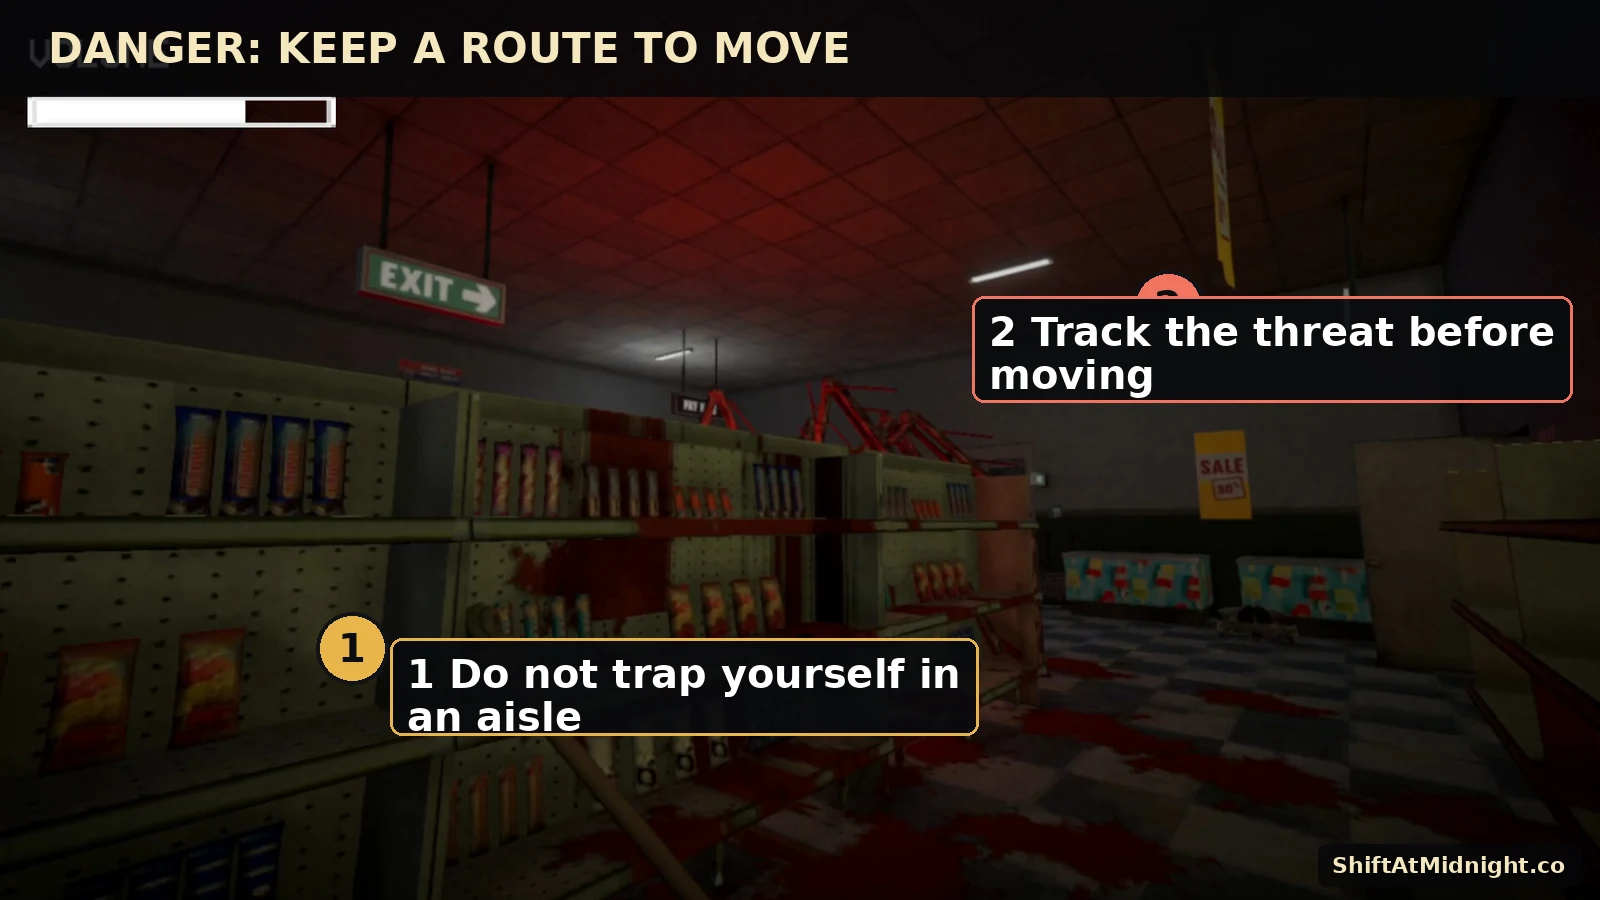
Secure outside approaches first
Exterior entrances are where preparation buys the most time. Barricade or trap exposed approaches before decorating the interior with defenses. Keep interior doorways and lanes usable so your own setup does not stop you from rotating.
- Stop ordinary store work.
- Identify the exposed exterior approaches.
- Place the first defensive layer without closing your own route.
- Choose a fallback area and a second route.
- Move only when you know where the threat is relative to that route.
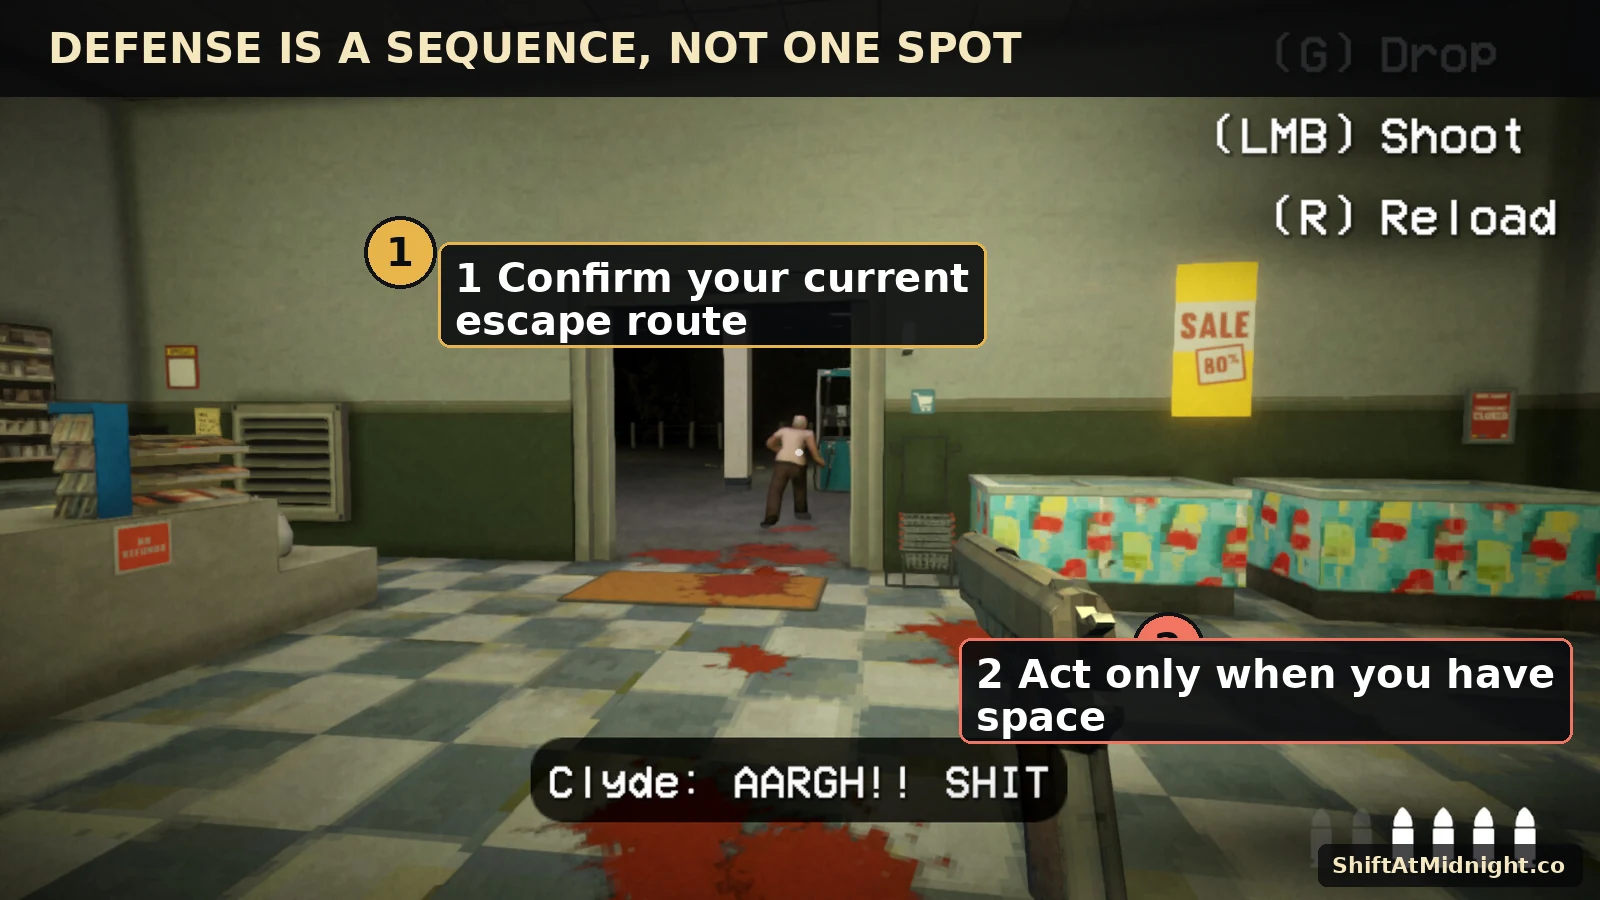
Build layers, not one perfect hiding spot
A strong setup gives you more than one decision: delay at the approach, reposition through the store, take temporary cover, then move again when necessary. One corner or vent should not carry the entire plan.
Randomized conditions and later balance changes make a universal perfect layout unrealistic. Use priorities that survive small changes.
Treat hiding as temporary cover
A hiding place or vent creates breathing room, but do not assume it remains safe forever. Use that pause to listen, locate the threat, and choose the next route.
Entering cover without a next move simply postpones the same decision until the situation is closer.
Recover after the immediate danger
Once you regain control, do not sprint directly back into every abandoned duty. Recheck entrances, restore a usable route, account for remaining equipment, and only then resume the most important objective.
In co-op, call out movement and avoid having every player crowd the same fallback. Shared awareness is more useful than several people reacting to different threats without a plan.
Common Bad Night mistakes
Do not block interior lanes, stack every defense in one place, stay in temporary cover indefinitely, or chase a threat without a fallback. Avoid enemy-specific tricks from old clips unless the current build clearly supports them.
FAQ
Quick questions
What should I defend first?
Prioritize exposed exterior approaches, then preserve a usable interior route and fallback rather than sealing yourself into one area.
Is a vent permanently safe?
Treat it as temporary cover and planning space. Do not rely on a universal safe timer.
Should I keep doing the shift objective during danger?
Survival comes first. Resume only after you have regained control and restored a workable route.
KEEP PLAYING